Lighting Tip #1: Open A Window
Understanding various lighting techniques does two things. It adds to the photographer’s bag of tricks, allowing you to understand how light behaves.
We must continuously be programming our brain to “see” light, and how it can affect the scene in both obvious and subtle ways.
And there are subtle ways.
Try holding an index card at a 90-degree angle to any wall in your home, and you will see what I mean by subtle.
Hopefully, this series will help you see the obvious and subtle ways and how they blend to form your photography.
Now I call this first one, “The Window,” and it is an excellent demonstration of balancing soft light and shadows. What do I mean by that? Well, soft light is the easiest way to shoot for a beginner, because in the beginning, we are still trying to wrap our heads around exposure. So soft light keeps us from blowing out highlights and makes it easier for us to get good portraits. But too much soft light leads to flat light. Flat light means no shadows, and shadows are very useful for adding drama, mood, character, etc. to our image. It also keeps our subject from looking so two dimensional.
Shadows help define your subject and draw emphasis on your subject. They are important. I love them. So simply opening a window to one side of our subject, allows us to light our subject with soft light, but still define our subject and bring character to our subject with shadow. Let’s take a look.
Simple single directional light from a sliding glass door. We get our soft light look – punched up a bit in post-processing – and we get shadows. Notice how the back wall is lit from our window as well. This brighter surface allows for our darker subjects to stand out. They are also helped to stand out more by the shadows created on the right-hand side of their body because it helps to contrast so sharply against the background. So not only is our subjects formed into a more three-dimensional object in this two-dimensional print, but they are extracted from the background by use of brighter background and form building shadows.
Light and shadow. The two most basic building blocks of photography. And all presented with a natural element found in any home. How’s that for cost-effective?
So the message is simple. Open a window.
Lighting Tip #2: Split it up
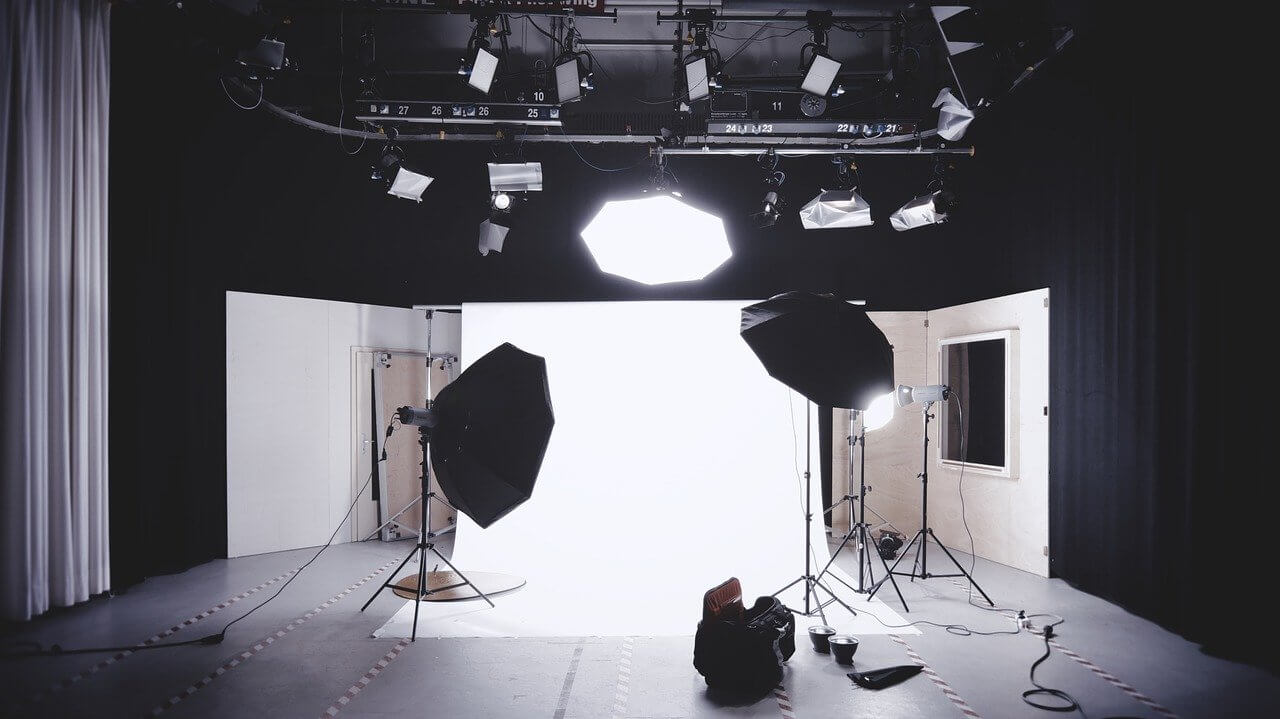
Split Lighting is a simple technique, but it will require an off-camera light source. A strobe works best, but you could use a form of consistent Lighting as well as a tungsten or fluorescent studio light.
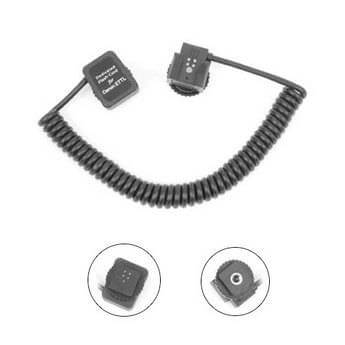
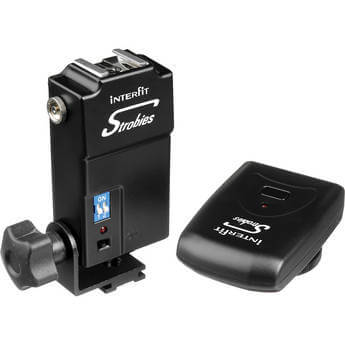
If you are using a strobe, you will need to get that single strobe off the camera, and there are a few ways to do that. You can use the built-in wireless systems built into Canon, Nikon, and Sony systems. Or you can use a cheap wireless radio trigger or a hot shoe extender.
Once you get the thing off-camera, you need to lower the ambient light. Low enough to see what you are doing, but not enough to impact the image. It will likely mean indoor shoots only. But not necessarily.
- You need a shutter speed of at least 1/200 or so. It will help to reduce the impact of ambient light.
- You need an ISO of 100 or as low as it can go. It will help to reduce the impact of ambient light.
- You need an Aperture setting of about F/7, but this can be varied as you need, once you start seeing the results of the image.
You can use TTL flash metering, or you can go full manual on the flash. If you are using the radio trigger, as shown above, you need to go full manual. If you have a corded option, you can use TTL.
If in manual on your flash, try starting at 1/2 power. It can be tweaked later as you start shooting.
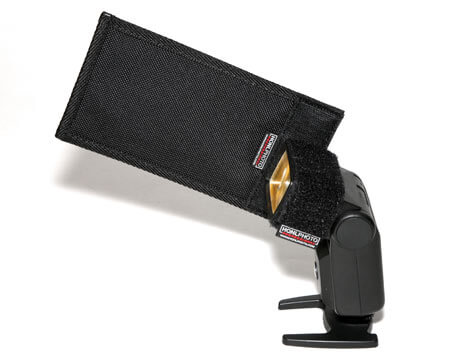
Finally, choose your background well, envision some excellent composition, and start shooting. You can also keep the light from spreading around the room by making some makeshift barn doors for your flash.

I use the well-made and portable Honl products, and I use two of them on each side to make barn doors. But the same effect can be accomplished with some cardboard and a rubber band—no need to spend the money if you are goofing around in your home. But don’t break out cardboard and rubber bands for your customer. Well, at least -I- wouldn’t do that.
Once you have all of that together, pulling off the below shot should be trial and error. Just one light 90 degrees to the side, and a little imagination, can accomplish great things. Congratulations. You now understand split lighting.


Leave a Reply